
So. I decided to speed up my relatively new Lenovo Yoga 2 11 laptop by replacing the 5400 rpm HDD with a fast SSD.
I had read about people doing this mentioning that the Yoga 2 is designed for a 5 mm high hard drive, but that you could still squeeze in a 7 mm drive (which is the typical size for SSDs – making those a lot cheaper than the 5 mm SSDs). So I bought a Samsung 840 EVO 250 GB drive. I already had two of those in different computers and know that they are fast and problem-free, and I also hoped that the fact that it’s “only” 6.8 mm might make it a better fit. It fit perfectly, but a 7 mm drive probably wouldn’t have been a problem either.
I feel that I should mention that there are ways to clone the contents of the existing drive onto the new one (before changing it) – meaning that after the switch, you should be able to just start up the laptop and it will work just the same as before, only faster. In my case, I wanted to install both Windows 8.1 and Ubuntu from scratch, so I didn’t have any need to do something like that.
What you need
You won’t need much to do this, but:
- An SSD (obviously).
- A TORXÂ T5 screwdriver for the back cover of the laptop.
- A Phillips #0 (or #00) screwdriver for the HDD/SSD and cradle. The #0 is perfect, but a #00 will work if you don’t have a #0.
Step by step
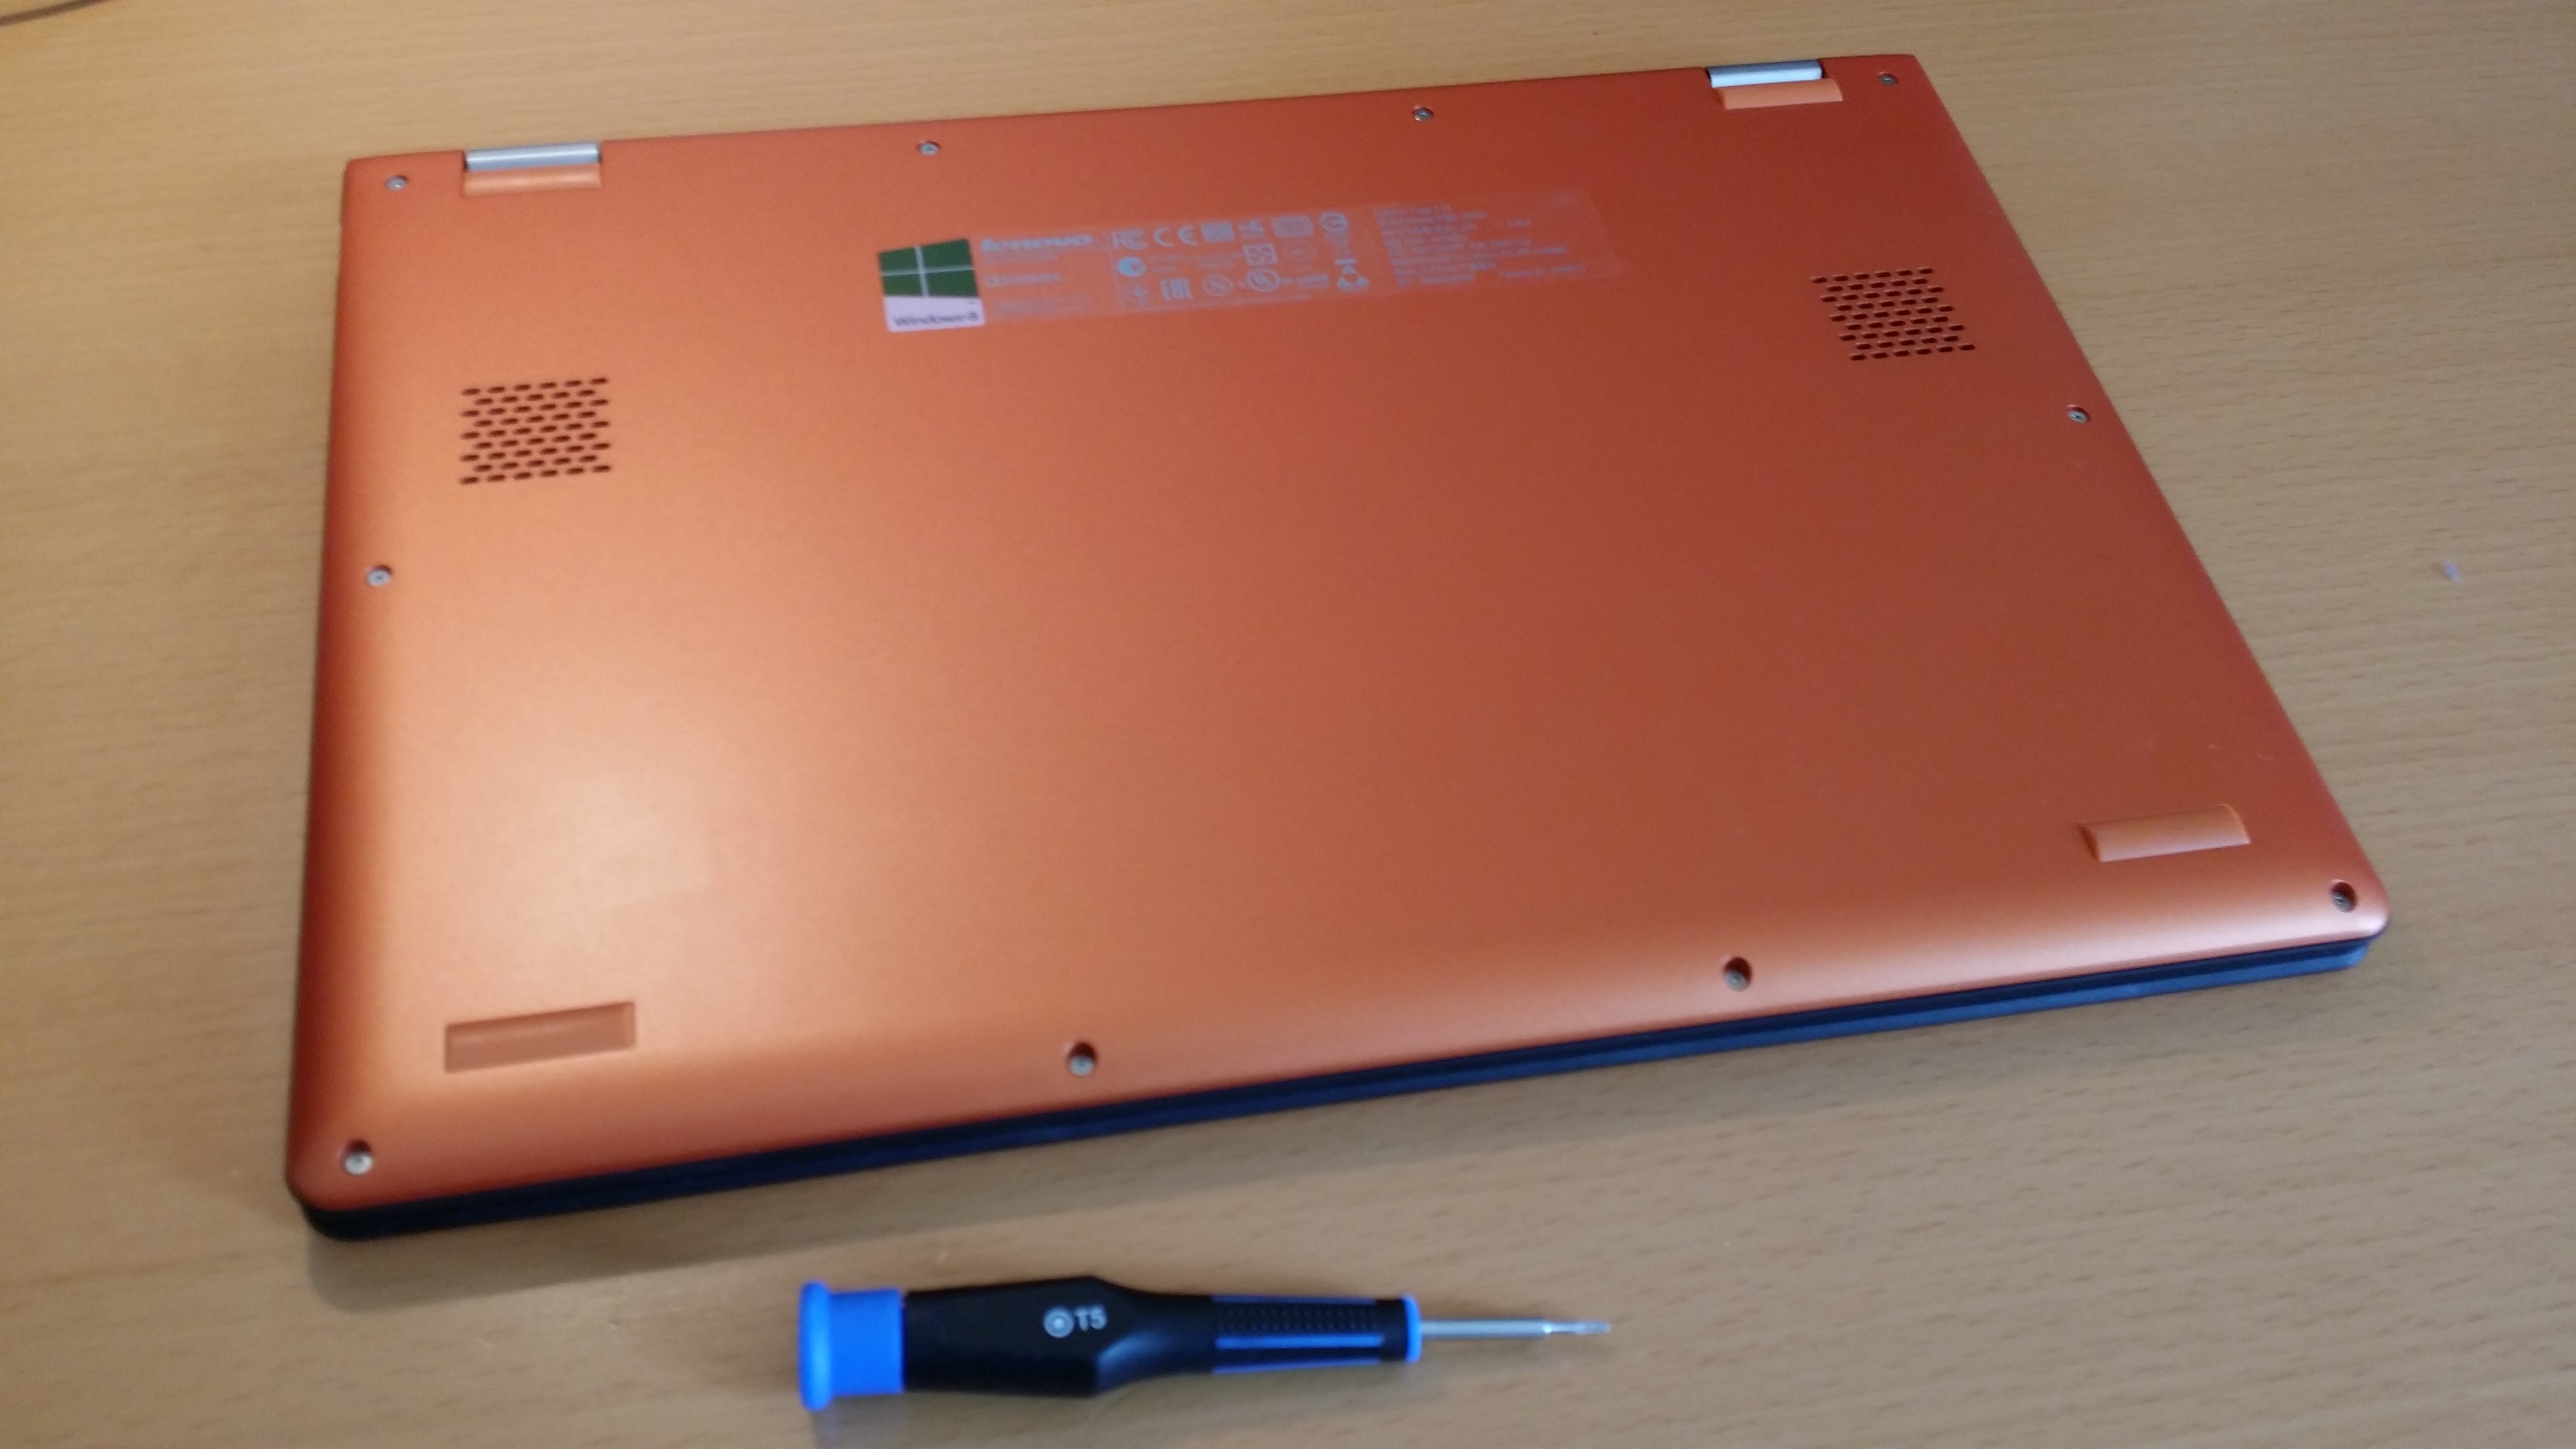
The Yoga 2 upside down with the TORX T5 scredriver ready for action
Turn off the laptop, close it, and place it with the backside up on the table.
Use your TORX T5 screwdriver to remove all ten (4+2+4) screws holding the back panel in place. There are no other screws on it so this is easy.
The back panel is also held in place with a couple of hooks similar to those that most mobile phones have. Gently yank the panel loose like when you remove the back of your mobile phone.
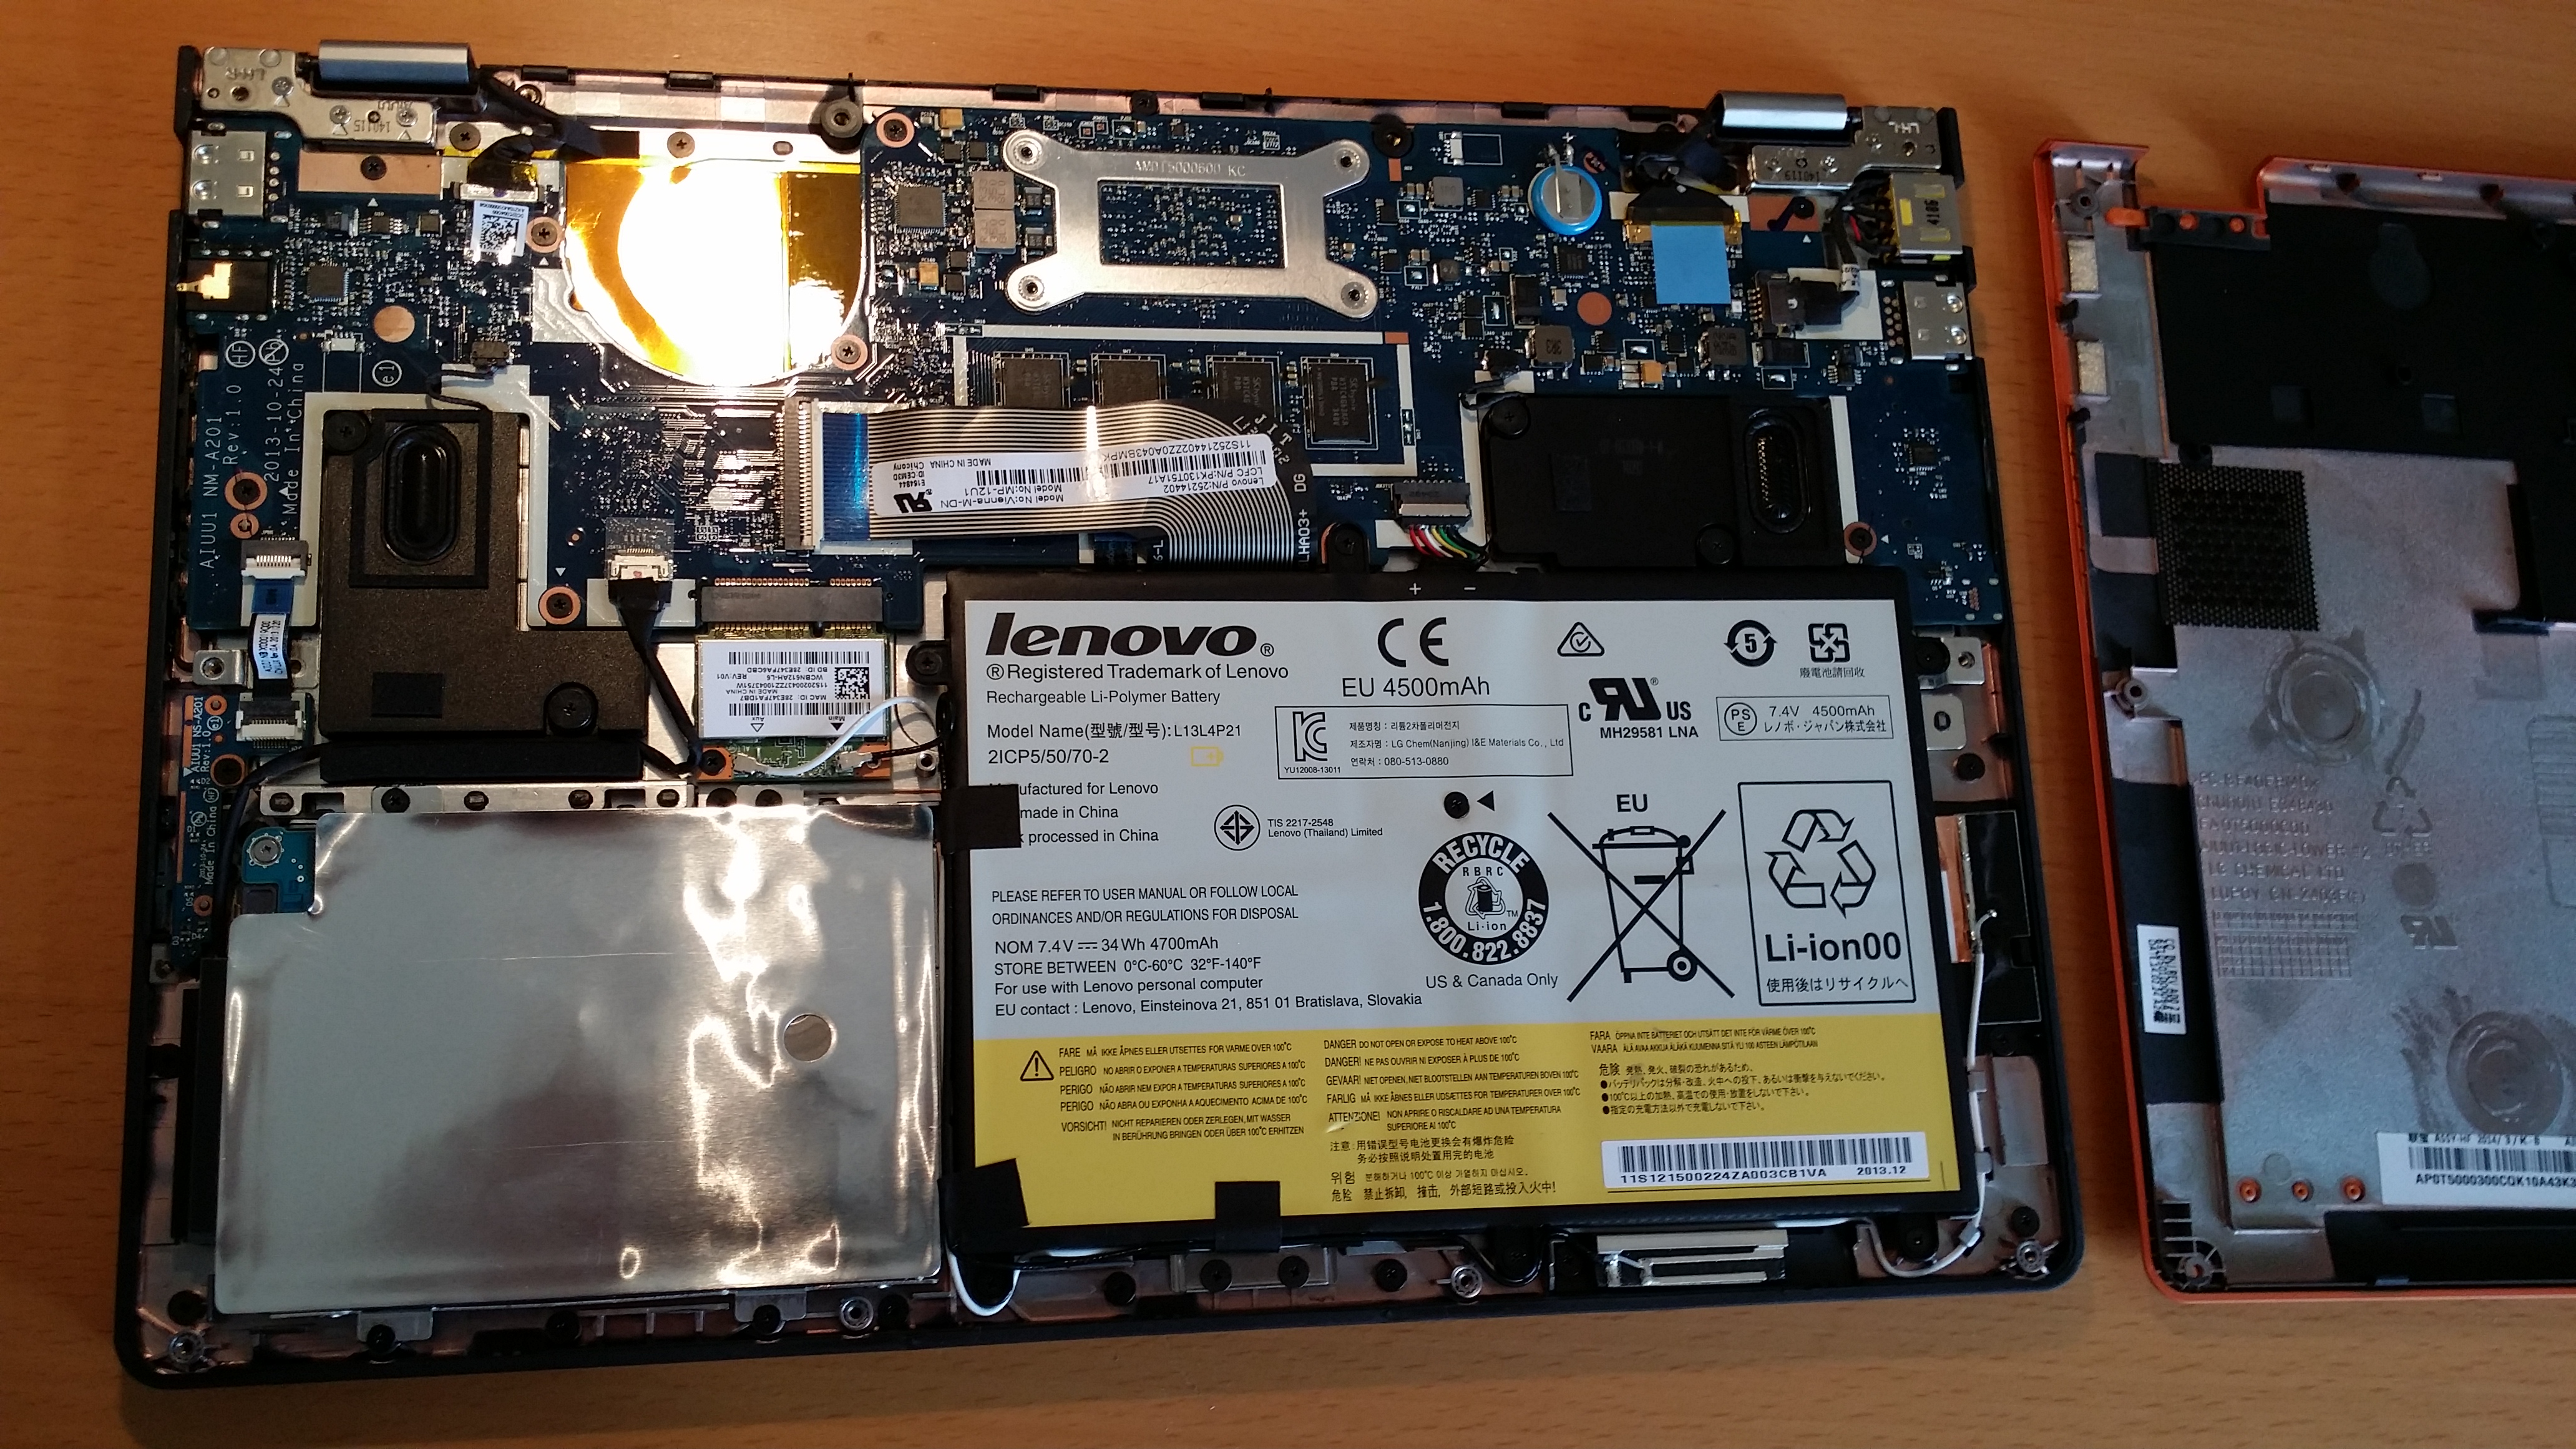
Back panel removed. You see the HDD covered with a metal foil in the bottom, left corner.
With the back panel removed, you can now see the HDD in its cradle beside the rather large battery. Well, I call it a cradle though it’s actually just two strips of soft metal loosely held together by the piece of metal foil covering the top side of the HDD.
Use your Philips #0 screwdriver (a #00 should work if you don’t have a #0, but then you need to be careful not to damage the screws) to remove the four screws holding the cradle in place.
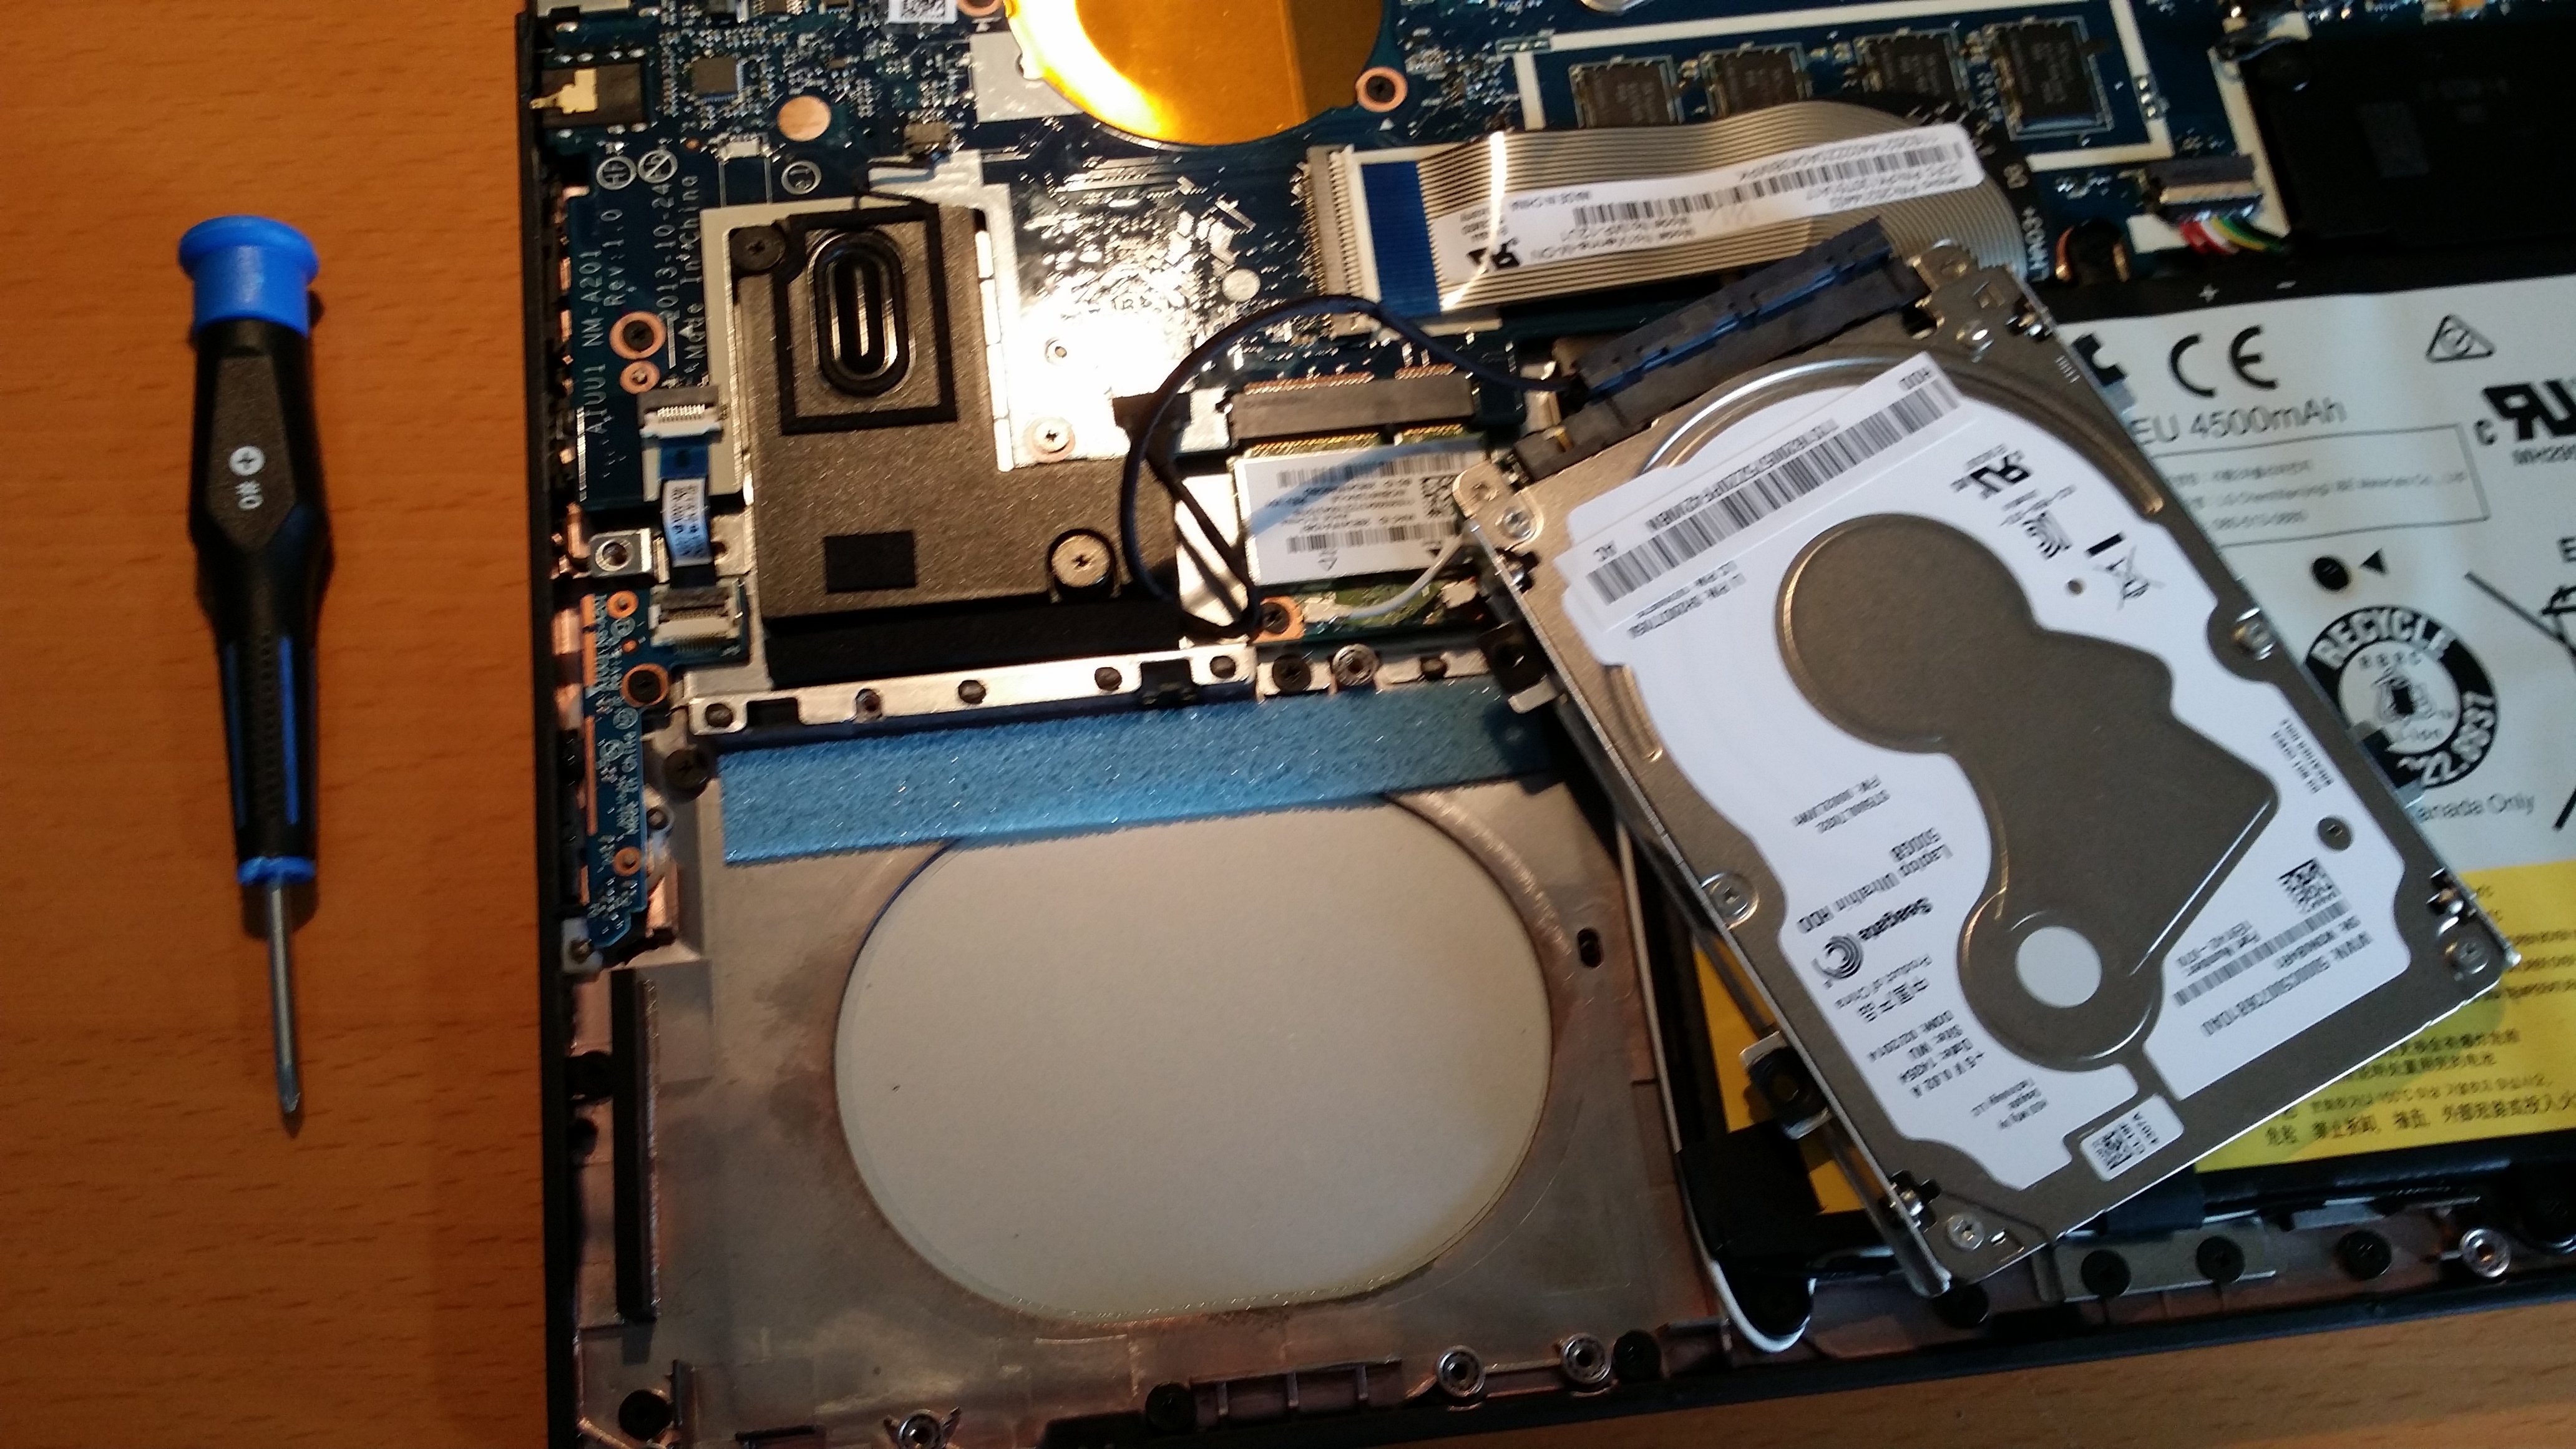
The HDD loose in its cradle.
You can now lift up the HDD with the cradle and remove the SATA contact. The cable looks and feels rather fragile, so you’d better be careful with it.
Notice the blue strip of foam rubber where the HDD sat. If your SSD is a bit too thick, you might want to remove that before inserting the new drive.

Old HDD left (with the “cradle” side strips removed) and new SSD right (with the far side strip attached and near strip ready to be screwed on).
Use the Phillips screwdriver again to remove the four screws holding the HDD in the cradle. I strongly recommend that you remove one strip at the time and put it on the new SSD before moving on to the next. That way it’s easier to make sure that you don’t put them the wrong way on the new drive.
If the strips stick to the old drive it’s just because of the adhesive on the metal foil. So just tear them loose, but be careful – the strips are made of very soft metal.
The SSD with strips and SATA cable attached, ready to be screwed into place.
Now you can attach the SATA contact to the new drive (remember to be careful with the cable) and place the drive in its slot. Fasten it with the four screws you removed earlier.
An SSD drive has a closed casing and doesn’t need it, but if you’re using this instruction to install a new HDD you will probably want to remove the metal foil from the old HDD and place it on the new one.
Make sure that the SATA cable is placed so that it doesn’t get squashed by something when you replace the back panel.

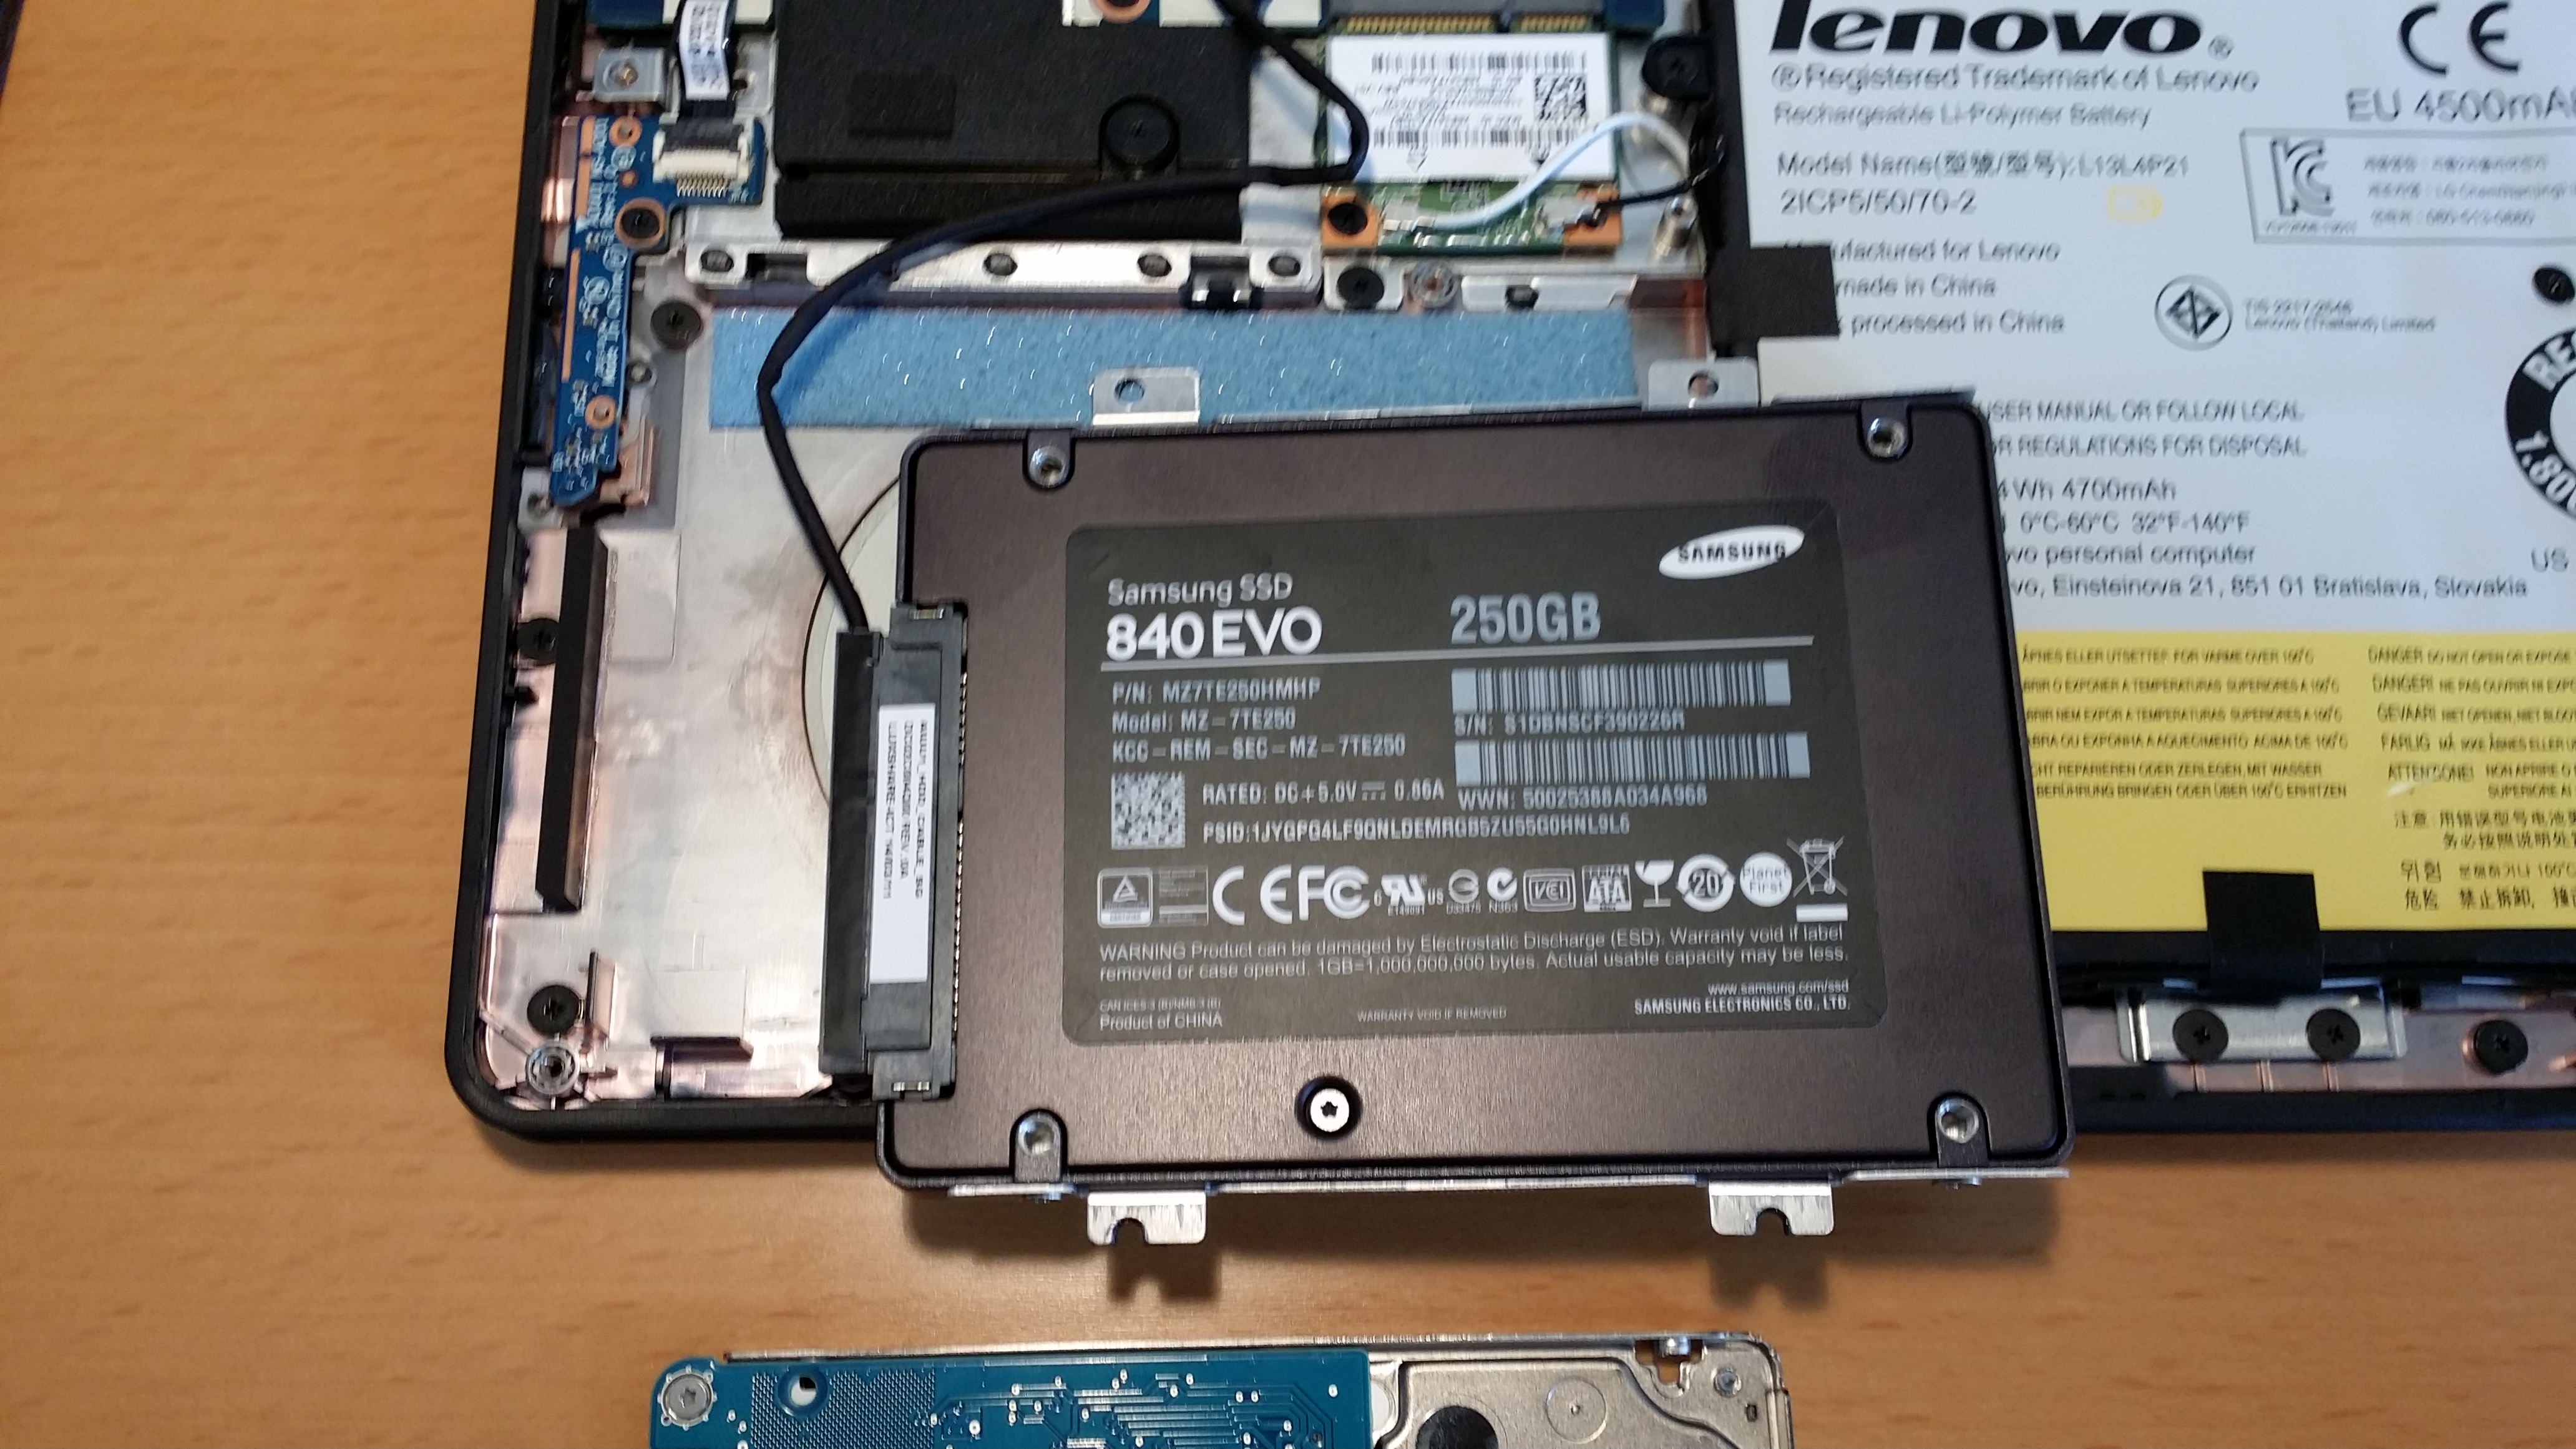
The SSD screwed into place. Notice how the SATA cable is drawn to avoid getting mangled.
Put the back panel into place and press it down gently to make the hooks snap into place.
Before screwing it into place, you might want to check the edges around where the SSD is located and make sure that there is no gap between the back panel and the rest of the laptop. At least not when you press the parts together. The SSD that I used is “only” 6.8″, which seems to fit perfectly, but if there is a gap you should probably remove the back panel again and remove the foam rubber strip from the inside of the panel where the SSD now sits (you don’t really need that for an SSD). If there’s still a gap, there is another strip of foam rubber under the drive that you can also remove.
If there’s still a gap I guess you’ll either have to live with that (might want to open and clean the laptop now and then in that case) or get yourself a slimmer SSD.
Replace the ten TORX T5 screws holding the back panel, and you’re done.
Thanks for the great article.